Staying classy on a budget: Dough-verload
Build your self-esteem with this easy yeast, herb bread recipe
LUKE HOLLISTER | THE DAILY EVERGREEN
Much of this process will require patience, since the bread will take 15 to 20 hours to rise. Stay classy, Pullman.
September 25, 2018
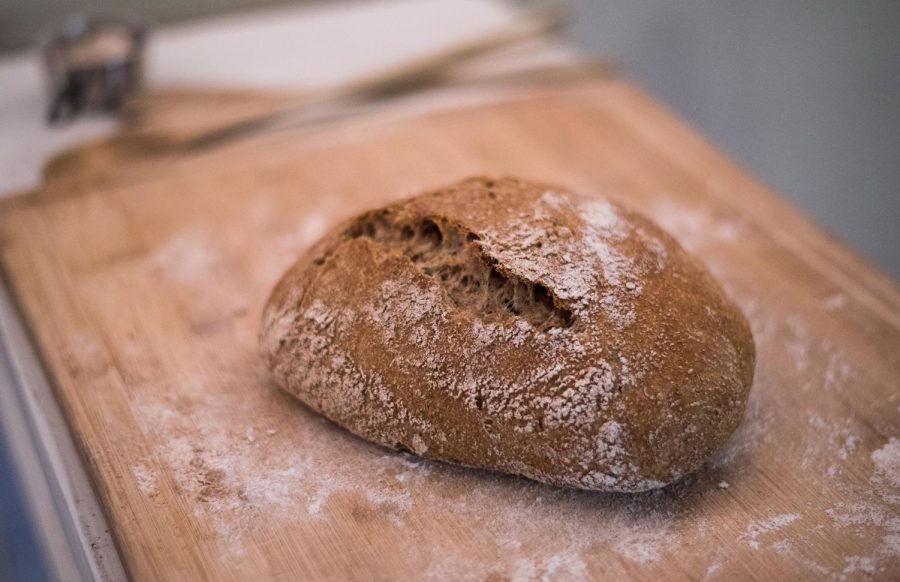
This is a bread that anyone can make. It requires minimal effort and no prior baking experience. When finished, the loaf should have a hard exterior and a fluffy interior. Like most breads, it is best served warm after taking it out of the oven. It is important to use fresh herbs in order to have the best quality of flavor. The loaf always makes me feel like a pro — it is quite the self-esteem builder.
Serving size: 3-4 people
Prep: 15-20 hours
Cook: 40 minutes
Approximate cost: $8
Ingredients:
•Three cups of flour
•1 tsp salt (More or less. I don’t run your life.)
•Two to three tbsp chopped fresh herbs of your choice
•1 3/4 cup of water
•1/2 tsp quick rise yeast
Get to bakin’:
1. Mix dry ingredients: Yup, just recklessly throw all your dry ingredients in a mixing bowl and stir.

You could toss all of the ingredients in at once but it may require longer stirring time.
2. Add water, stir: The best way to mix in your water is to form a well in the middle of the dry mixture. Pour the water into the center and stir until all the flour is mixed in. It should be pretty wet and sticky when you finish mixing. Honestly, if you just wildly pour in your water and start mixing, it will turn out fine. You might just have to stir a bit longer.
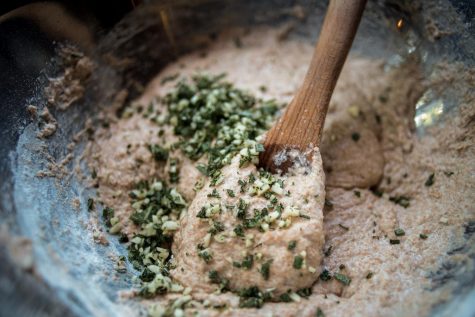
3. It’s flavor time: You can add whatever herb you like to give your bread an extra flare. For this, I minced up a couple cloves of locally grown garlic with a sprig of rosemary and a few sage leafs. Feel free to add more if you feel like having an adventure. Once finely chopped, toss in and stir with your dough.
4. Transfer: Grease a large bowl. It should be large enough to hold four times as much dough as you have. Next, scoop the blobby dough and plop it into your newly greased bowl. Dampen a kitchen towel with warm water and place it over the bowl, covering any holes (very lightly damp). Plastic wrap works if you are short on clean towels like me.
5. Wait: Let your dough rise for 15 to 20 hours, ideally kept in a warm area. The time it takes to rise depends on the temperature of your kitchen. With fall on its way I would give it more time rather than less. Do not touch the dough while it rises, do not even look at it or speak to it.
6. Knead and wait: By now, your dough should have risen quite high and if it is ready, it will have little bubble all over its surface. Next, tear the dough out of your bowl, throw down some flour on a work surface and knead that bad boy for a couple minutes.
7. Patience, grasshopper: After kneading, lay your dough on a well-floured surface and loosely place your damp towel over the dough. Let rise for roughly an hour. While you are waiting, turn your oven on to 450 F. You will need to leave a pot in the oven for you to place the dough in once it is ready to bake.
8. Baking: After the oven has preheated, bake the dough in a covered pot for about 30 to 45 minutes. Take off the lid for the last 15 minutes to get a nice crispy top. When ready, remove the pot from the oven, take the bread out and let it cool for 25 minutes.
Now you can share this lovely piece of flavor science with your friends. They will speak kindly of you and your newly acquired baking talents. It will be a happy moment in your life.


