


Do you want to build a snow shelter?
January 19, 2017
Whether you are into extreme survival adventures or just like to romp around in some snow, knowing how to build the perfect snow shelter is a skill that could come in handy.
When people first think about transforming powdery snow into functional structures, the igloo style always comes to mind. However, igloos prove to be the most difficult to construct and often require advanced skills and even some tools, said Michael Cassleman, a WSU Outdoor Recreation (ORC) instructor.
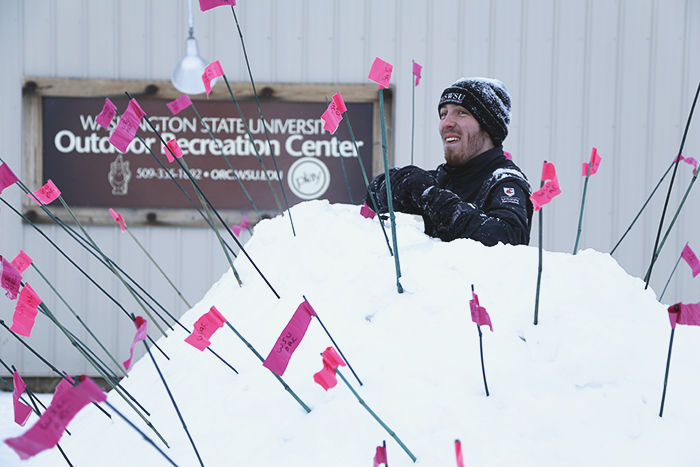
Cassleman hosted a free clinic to demonstrate how to build a survival snow shelter on Friday. outside the ORC building. It was his first time putting on a clinic about winter survival, but he approached the challenge enthusiastically despite the cold weather and snowy conditions.
“We need to make this good,” Cassleman said, “because I’m sleeping in here tonight.”
And I don’t think he was exaggerating.
Because building an igloo-style snow shelter requires a mold or ice saw to create uniform blocks, to save yourself some time, Cassleman suggested building a quinzhee-style snow shelter instead. The quinzhee shelter is more insulated and easier to build if you are really trying to survive in snowy conditions, he said.
The first step to building a quinzhee is to create a snow pile six to eight feet tall and six to eight feet wide. This size of a snow shelter can fit two comfortably, Cassleman said.
But you can make an even bigger one if necessary, or just for fun. I dare you.
Once you have created your miniature snow mountain, wait about an hour and a half for the snow to settle before you start any digging. You want to make sure the snow is compact and will hold its shape once you start excavating the interior of your shelter.
“It would be less than ideal if in the night (the snow shelter) collapsed on you,” Cassleman said.
Quite the understatement.
After waiting for your snow mound to settle, Cassleman recommends lodging sticks about one foot to 18 inches down into the exterior snow wall. This is done so when you dig out the interior of the quinzhee and hit a stick you know to stop digging. One foot to 18 inches is the optimal thickness for a snow shelter of this size.
Once your snow mound resembles a wonky albino hedgehog, you can move on to phase two: the dreaded digging. One strategy Cassleman suggests is to establish two diggers with two different roles who simultaneously dig until they meet in the middle. The first digger is “the mole;” he or she digs from the top of your snow mound straight down. Your “mole” should be nimble and, as I suggest, quite light. The second role is much less exciting, as you basically just dig into the shell from the side at a slight upward angle.
Hopefully, if you have done everything right thus far, you will have successfully dug out an “L” shaped tunnel inside your snow mound. If you didn’t make it this far, it’s okay, snow obeys no man. Try again or just work with what you’ve got.
Commence phase three: excavate your quinzhee. Basically, there is no secret, special way to do this – just make it happen. But don’t forget to stop digging once you see your sticks. Thin walls make for fragile snow shelters.
If you were really building this out in the wild in order to survive, you would want to leave your top entrance open for ventilation because hot air won’t escape out through the side, Cassleman said. But if your quinzhee only serves the purpose of a backyard fortress to hide away from your responsibilities, do whatever you want. Deck the interior out with some homey ice furniture. The possibilities are endless.
If you happen to build a quinzhee-style snow shelter before winter leaves us, please submit pictures of your success or failure to [email protected], and they could be featured in upcoming installations of Mint.
Madeline Braun is a sophomore communication major from Washougal. She can be contacted at [email protected].